Once you get your Raspberry Pi, the first thing you need to do before you can use it is install an operating system. The Raspberry Pi is a bit unique since it has no on-board storage and only uses a micro-SD card for the operating system and user files. This guide walks you through how to install an OS to a micro-SD card so you can start using your Raspberry Pi.
Contents
Introduction
Whether you want to try a new OS or go back to a clean install, there are a number of good reasons to reinstall and flash a new operating system to your Raspberry Pi. In this post we’ll go through the process of downloading and installing the Raspberry Pi Imager, and then using it to flash a micro-SD card.
Hardware required
To flash a micro-SD card, you’ll need:
- A micro-SD card, between 8 and 32 GB in size
- A SD card reader which is compatible with your computer
- Lastly, a Raspberry Pi, so you can boot the operating system
Software required
This is written assuming you are using Windows 10 as the operating system on your laptop or desktop computer. As part of this tutorial, we’ll be installing the Raspberry Pi Imager. No other software is required.
Tutorial
Step 1: Download and install the Raspberry Pi Imager
To both download the operating system image and write it to the micro-sd card, we’ll be using the Raspberry Pi Imager. Visit the software page of the Raspberry Pi website, scroll down to the Install Raspberry Pi OS using Raspberry Pi Imager section, and press the Download for Windows button.

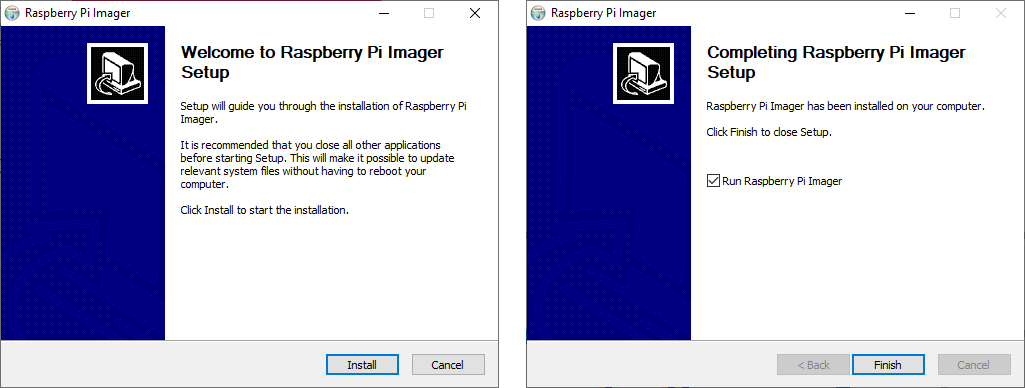
The installer file will begin downloading. Once it’s finished open the file to begin the installation.
Installation couldn’t be simpler, just click Install on the first window and everything will get set up for you. After that, click Finish and the installer will automatically launch the Raspberry Pi Imager for you.
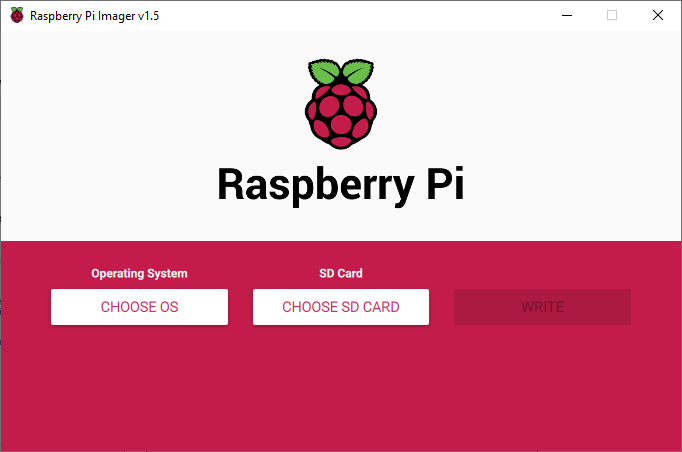
Step 2: Use Raspberry Pi Imager to flash an OS
In the Raspberry Pi Imager, we need to do two things before we can flash the micro-SD card, pick which image we want to download and flash, and select which micro-SD card we want to write to (in case you have multiple SD cards inserted in your computer).
Choose an operating system
Start by clicking on the CHOOSE OS button, and this will bring up a list of all the operating systems that are available to install.
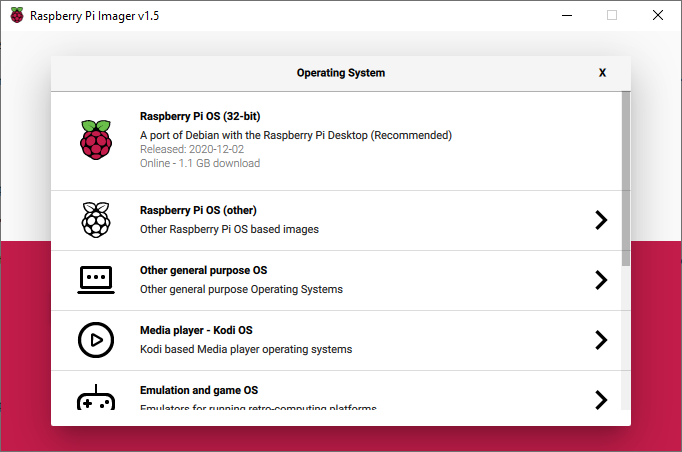
The operating system you choose will depend on the project that you’re creating but some general pointers are:
- If you are creating something that will be using a display (monitor or television), pick one of the desktop images
- If you are working on a project without a graphical user interface, otherwise known as a headless computer, pick one of the server images or ones without a desktop environment
- If the choice is available, pick images which have LTS (long term support) since they will be supported with security and application updates for longer period of time
- And if you’re not sure, the
Raspberry Pi OSis never a bad choice
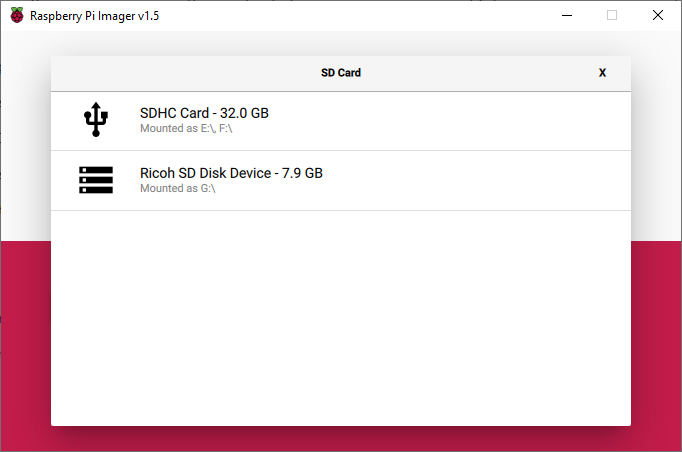
Choose your SD card
If you have multiple SD cards in your computer, click on the CHOOSE SD CARD button to pick which one will get written with the operating system.
Write the image
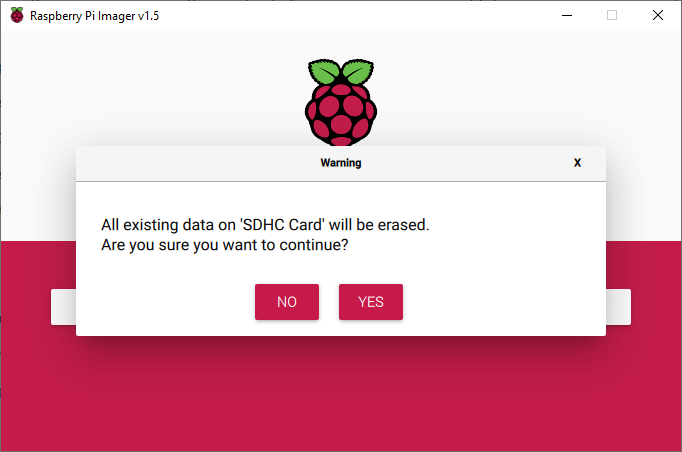
Once you’ve made all your choices, click the WRITE button to write the operating system to your micro-SD card. Since all the data on the card will be deleted, you’ll be prompted one last time to confirm that you want to proceed with writing to the card. Press YES if you’re ready to proceed.
In the background, the Raspberry Pi Imager will download the operating system image and write it to your card. How long this takes will be dictated by the speed of your internet connection (since most operating systems are over 1 GB in size) and the speed of your SD card reader; but expect to wait a while.
Using your Raspberry Pi
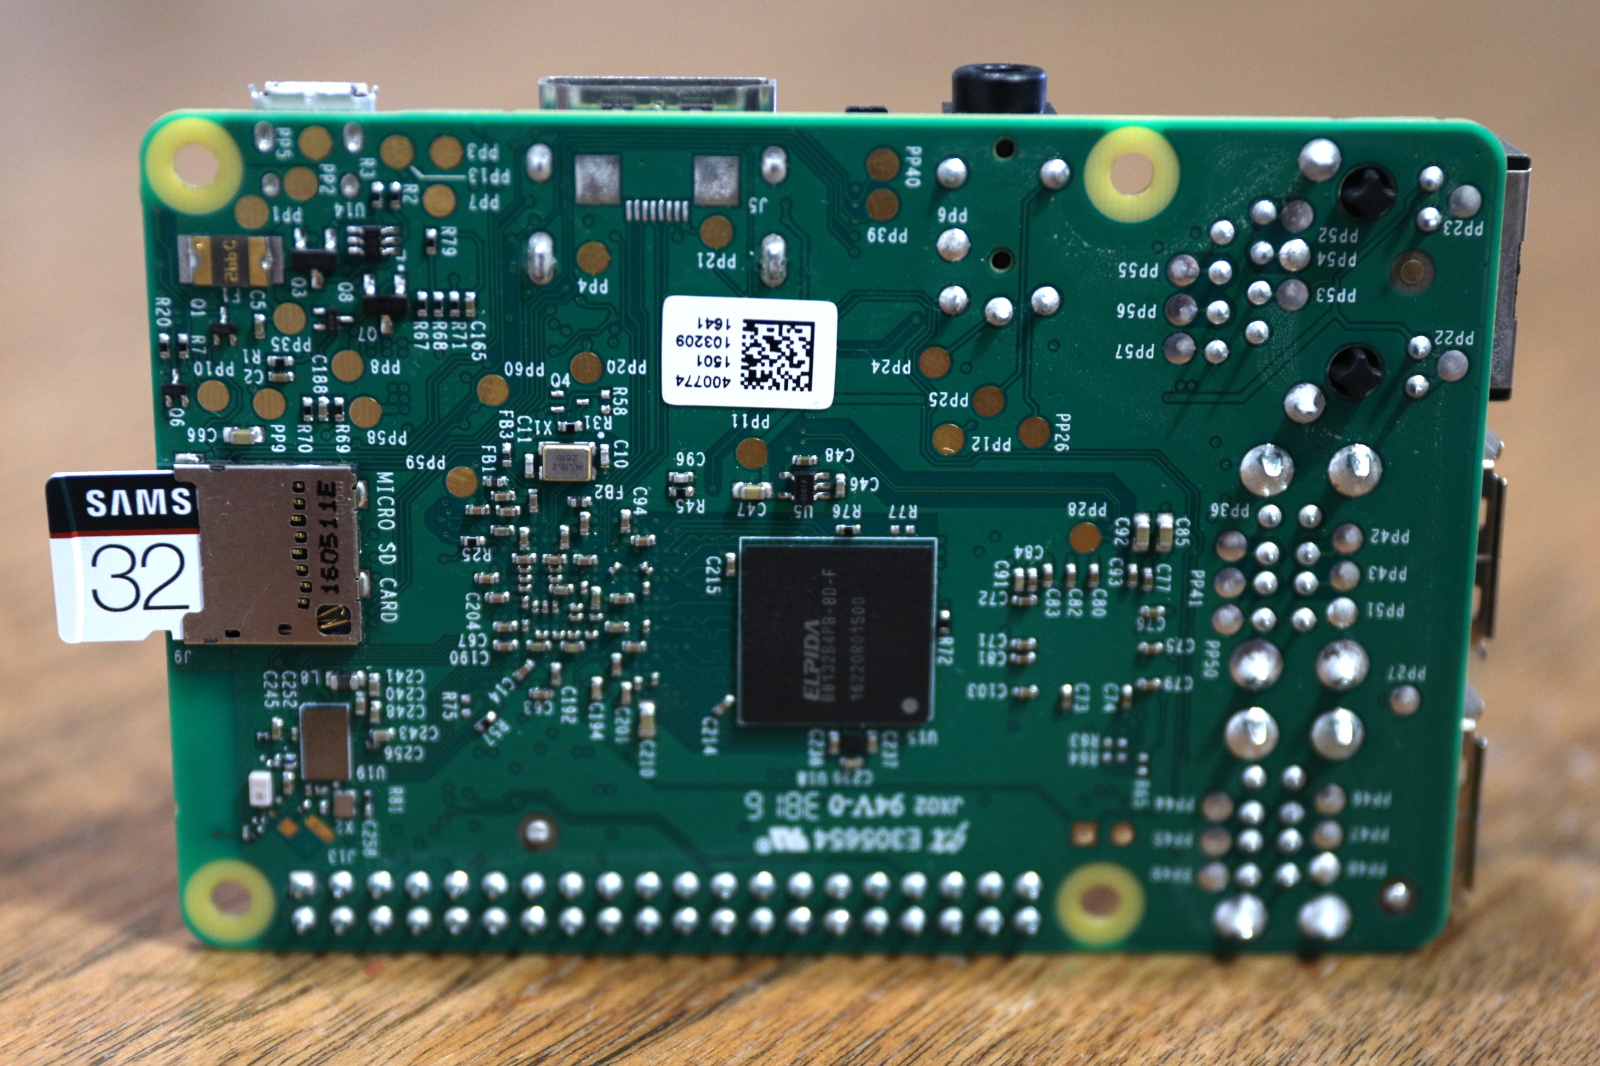
Insert SD card and apply power
Once the image is finished writing, you can remove the micro-SD card from your computer and place it in the slot in the back of the Raspberry Pi.
Plug in a power cord into the USB port, along with a HDMI cord for your monitor / television, and a keyboard / mouse and you’re ready to begin using the new operating system on your Raspberry Pi.
What next
Now that your Raspberry Pi is up and running, you can either begin using the operating system out of the box, or you can begin installing additional software or customizing the operating system for the specific project that you are working on.
I’d love to hear about your projects and what you’re using your Raspberry Pi for. Join in the conversation using the comment form below, and share your project.
Leave a Reply